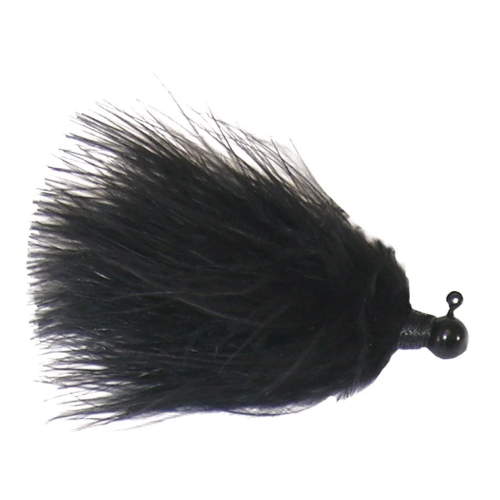
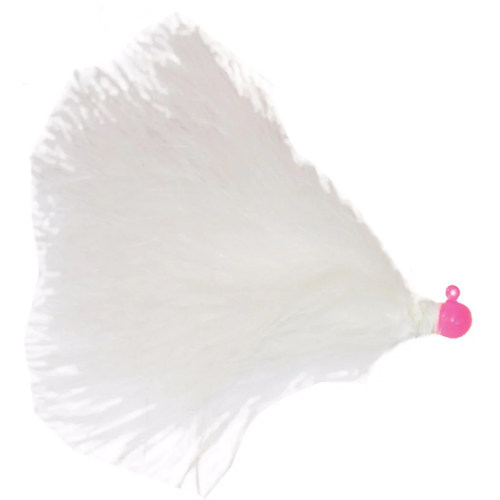
There are several different types of trolling fly construction methods used for making trolling flys used for Trout and Salmon on the Great Lakes. We will be using a popular construction style called a "Reverse" Pattern.
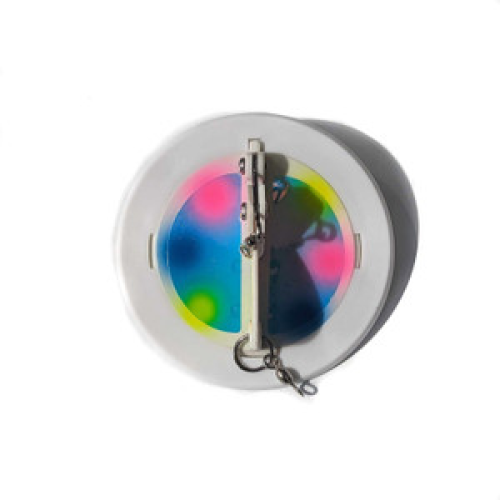
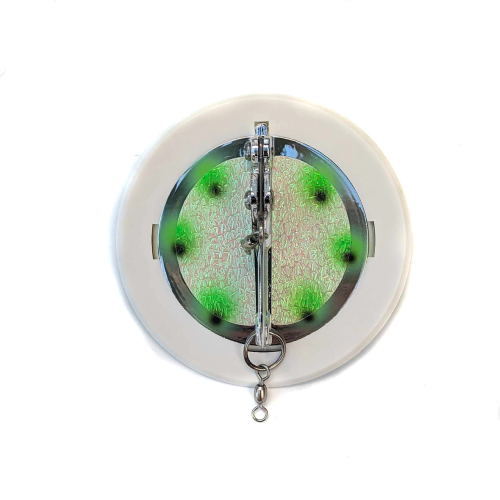
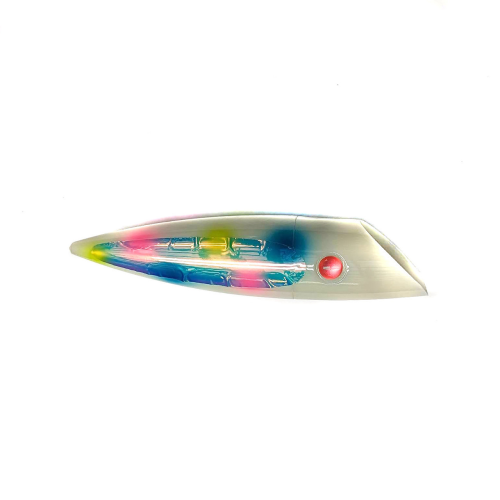
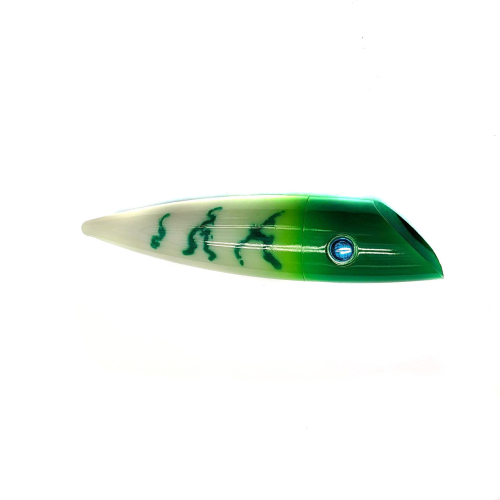
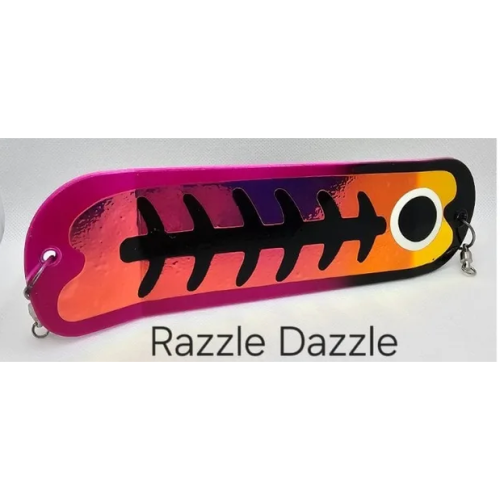
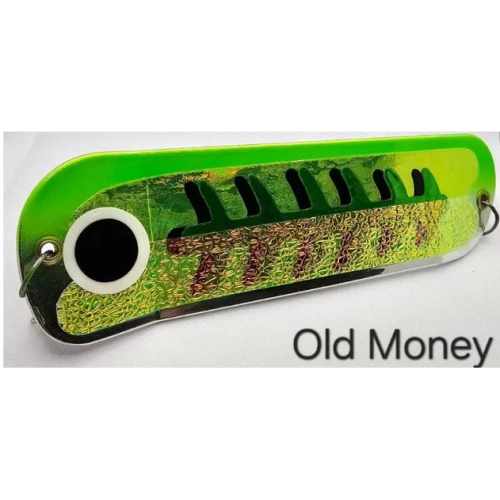
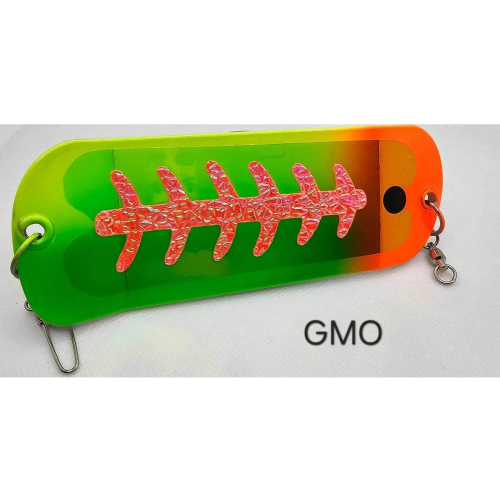
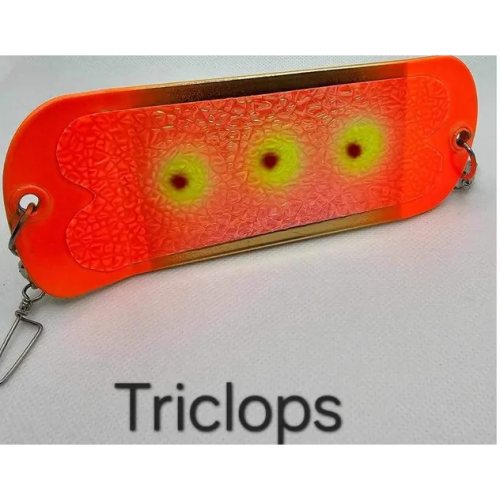
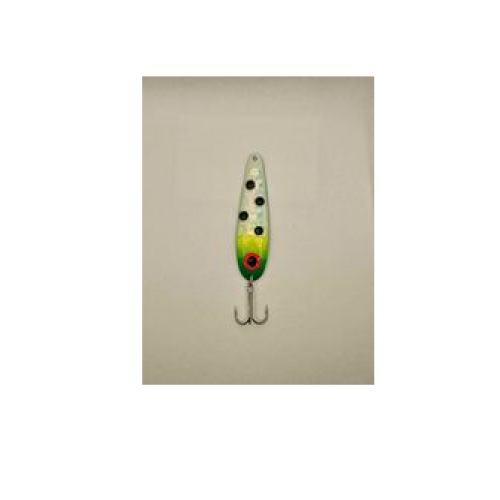
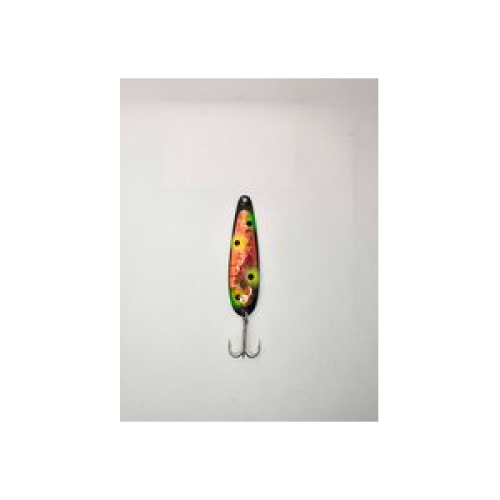
Trolling flys can be one solid color, a primary color with a highlight color added, or made up of several different colors. The total length of mylar used in constructing an individual fly can vary from as little as 3 inches of a solid color of mylar to as much as 5-6 inches of mylar made up of multiple colors. Popular fly patterns include:
Click for a printable version of the directions for making trolling flies.

Step 1: Measure the first color to be used in your pattern.

Step 2: Cut the first color to be used in your pattern. We are cutting 3 inches of blue embossed mylar.

Step 3: Measure and cut the second color to be used in your pattern. We are using 3 inches of chartreuse embossed.

Step 4: Next we will need 1/2 inch width scotch tape and a quick drying glue like Crazy Glue or Quick tite.

Step 5: Overlay the two different pieces of mylar on a flat surface.

Step 6: Apply a strip of scotch tape to the overlayed mylar. The tape should extend at least 1/2 inch on each end of the overlayed mylar.

Step 6b: The taped mylar should look like the picture.

Step 7: Apply a small amount of glue to the lure head. Make sure that you do not glue your fingers together.

Step 8: Carefully wrap the taped mylar to the lure head. Notice how the tail of the mylar extends past the front of the lure head.

Step 9: When finished, the fly should look like the picture at the left.

Step 10: Trim the excess tape and mylar that extends past the back of the lure head.

Step 11: Apply more glue to the lure head with the taped mylar. Make sure you do not get glue on your fingers, the mylar skirt, or close the hole in the lure head.

Step 12: After the glue is dry. Carefully reverse the direction of the loose mylar tail material that surrounds the lure head.

Step 13: Tie a hook to a 24 to 30 inch piece of the 40lb test monofilament line.

Step 14: Add 3 beads to the line.

Step 15: Add the fly body to the line.

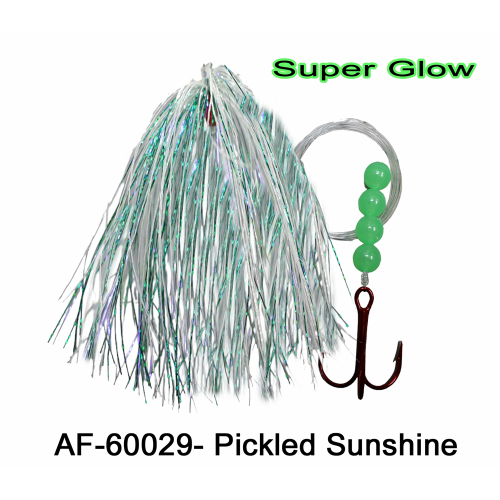
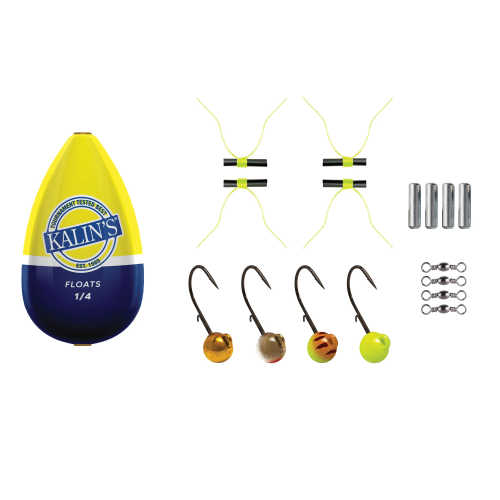
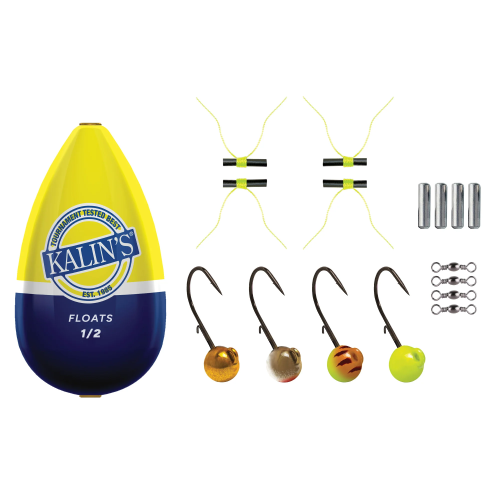
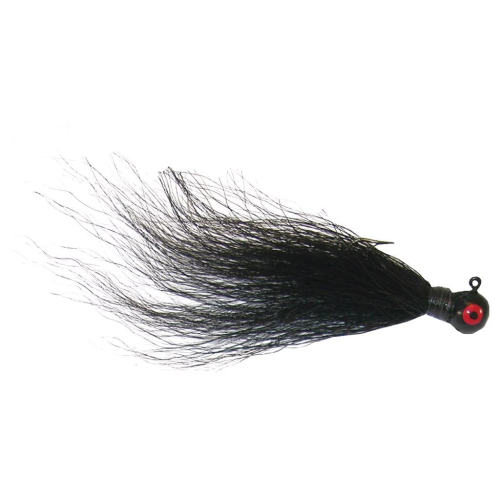
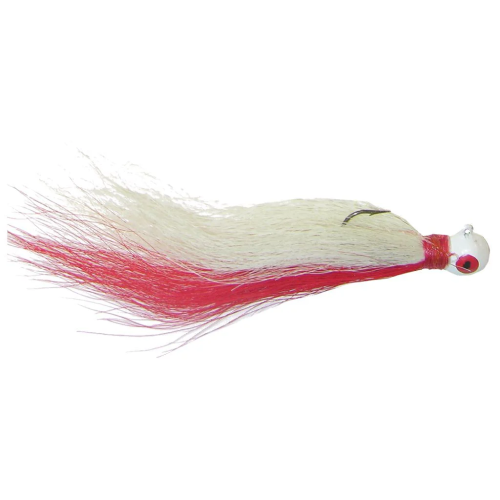
Finished Fly: Materials for making trolling flys are available in our Online Store.